How to Integrate Asana with Salesforce Using MultiSync Made Easy
In this guide, we will walk you through the steps that will help you integrate Asana with Salesforce using the ETL tool – MultiSync Made Easy.
Step 1 :- If you already have an account, great; otherwise, you can simply create an account from here.
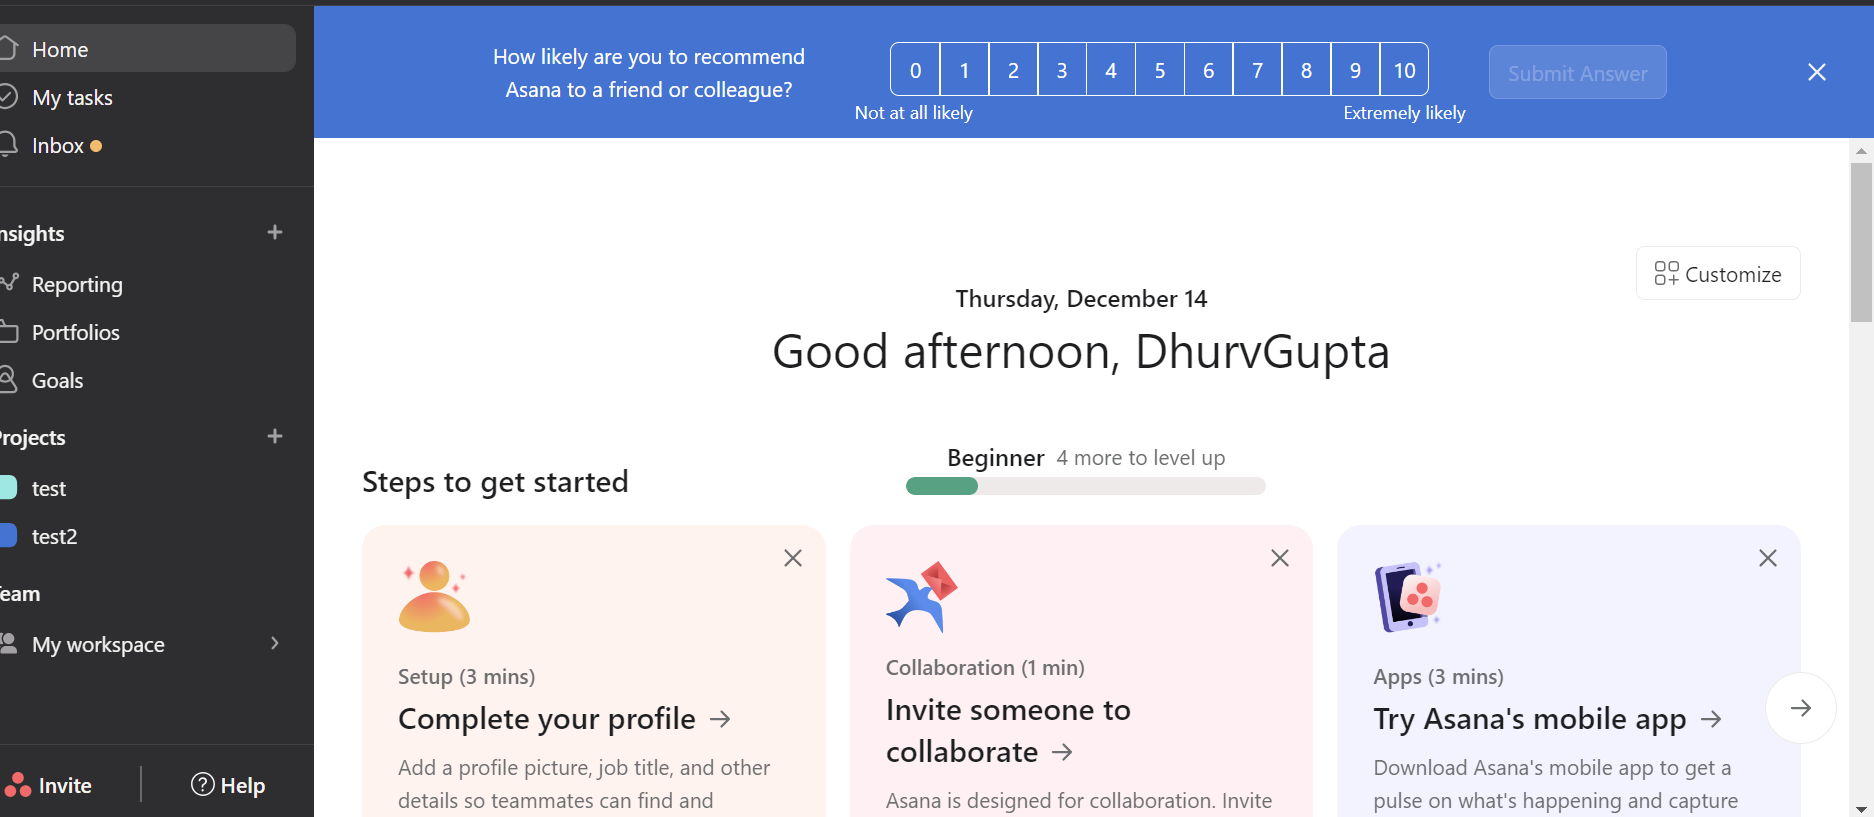
Step 2 :- Once you log in, your screen will appear as shown in the screenshot below.
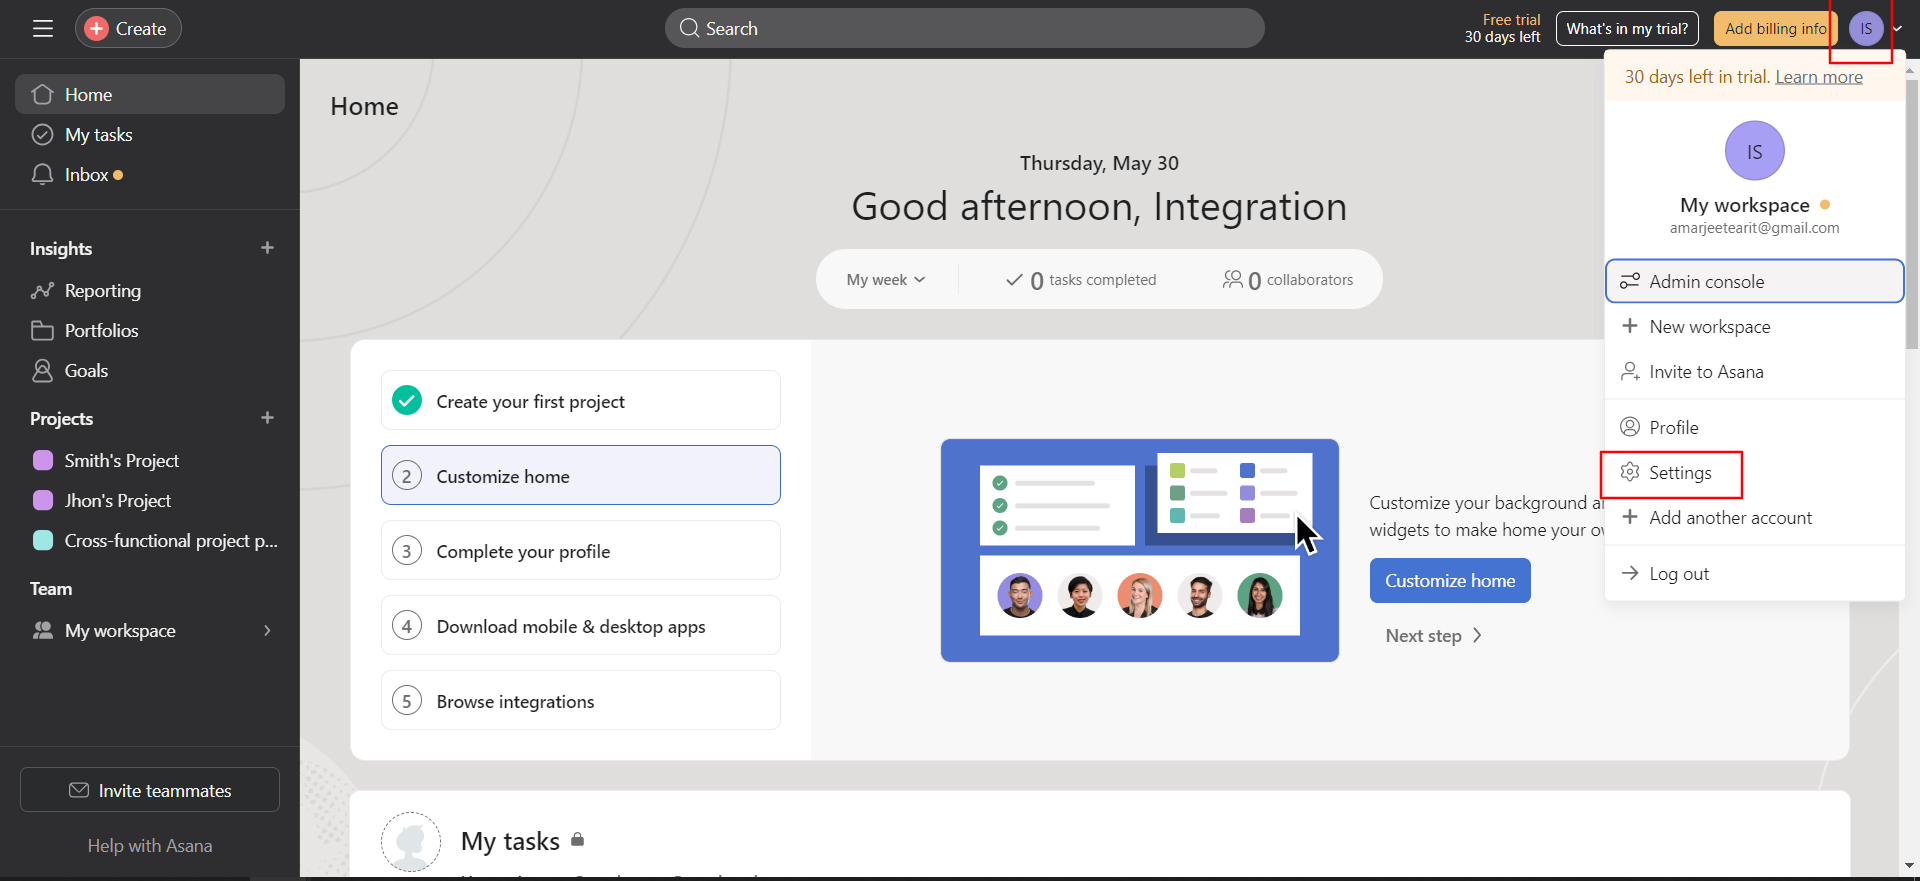
Step 3 :- Click on the top right corner of your profile picture icon, and a dropdown will appear from where you’ve to click on “settings”.
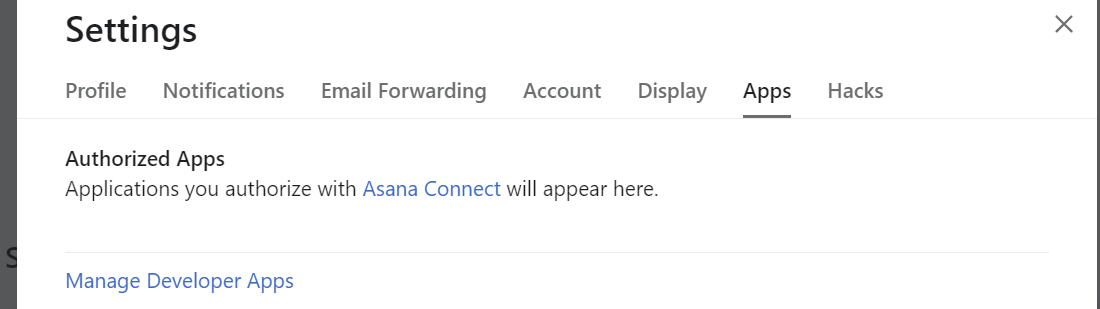
After clicking on it, you’ll see this.
Step 4 :- Now, click on the tab titled “Apps” > “Manage Developer Apps” hyperlink.
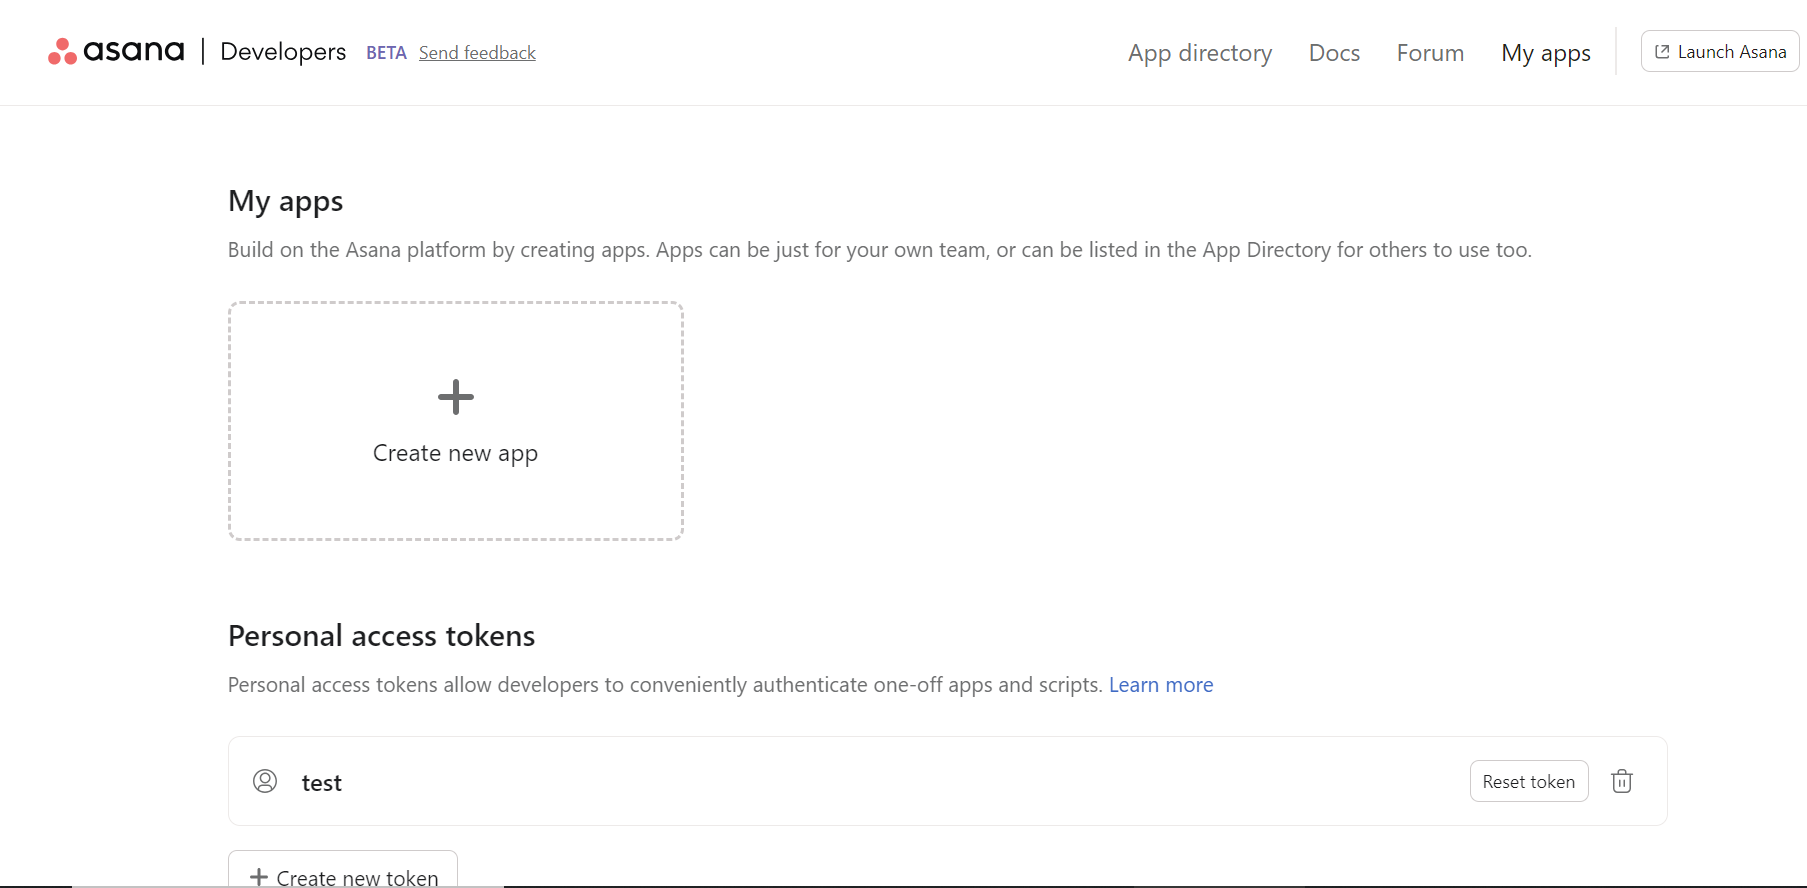
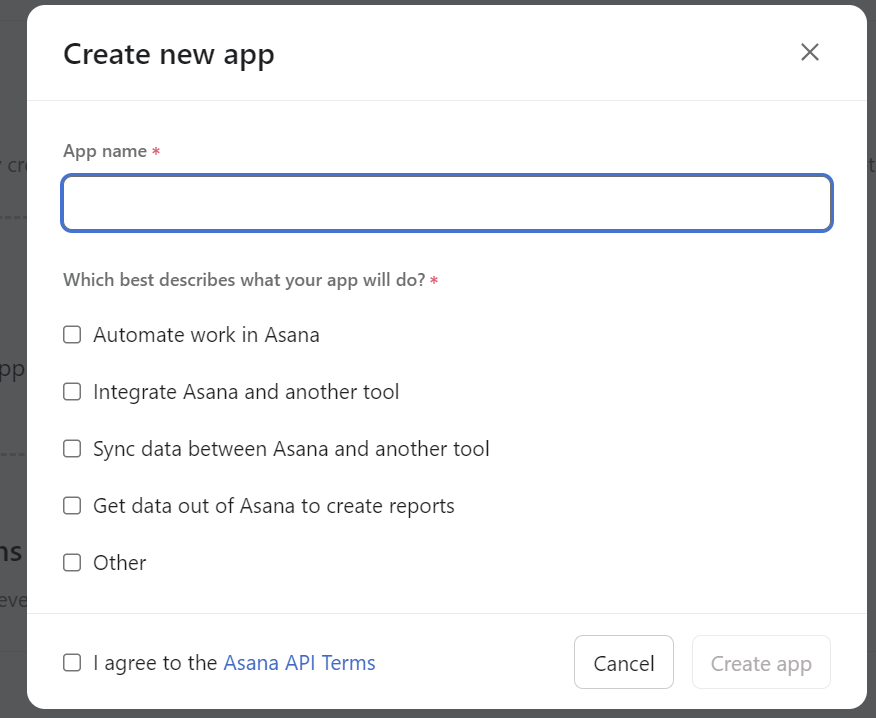
Step 5 :- After clicking on it, your screen will look like the one shown below. From there, you need to click on “Create new app.”
Step 6 :-Now, it’s time to give your app a name. Make sure to check all the boxes and tick the box of the Asana API Terms agreement.
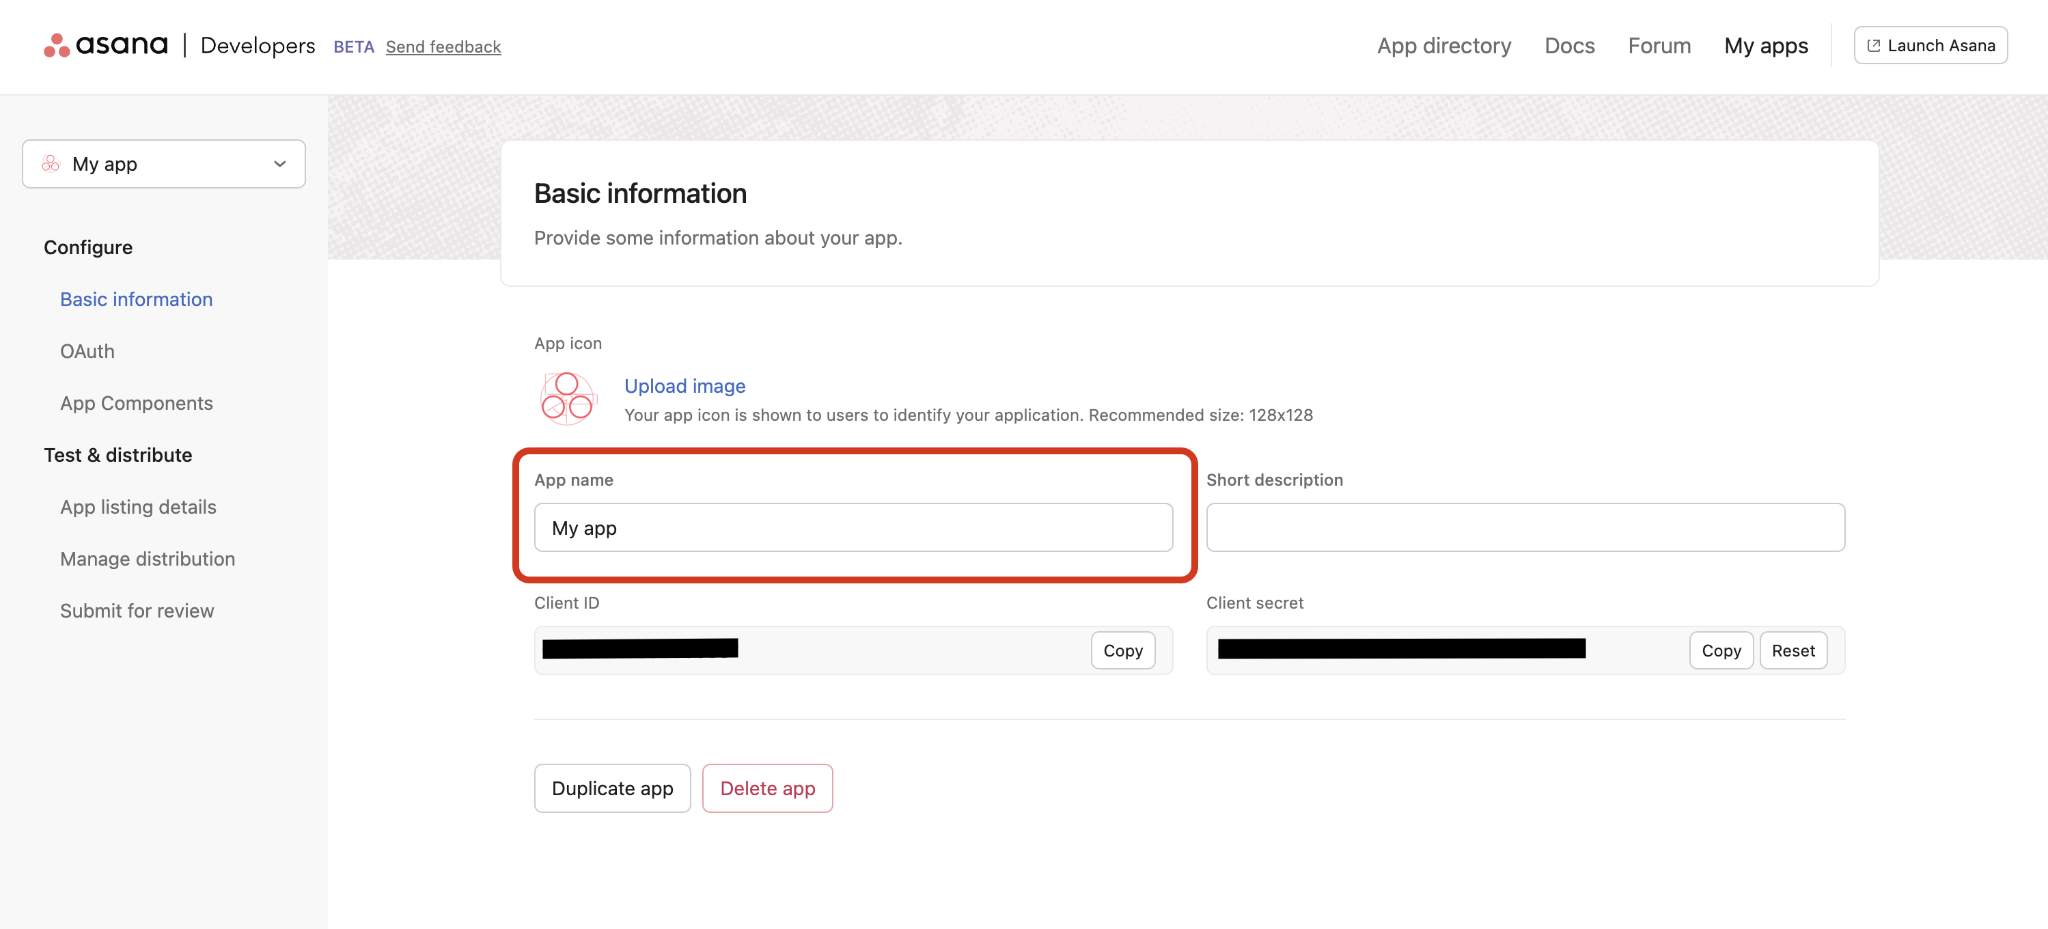
Step 7 :- Once your app is created, you will have your “Client ID” and “Client Secret” on the basic information page. Later, click on the 0Auth submenu from the left navigation bar.
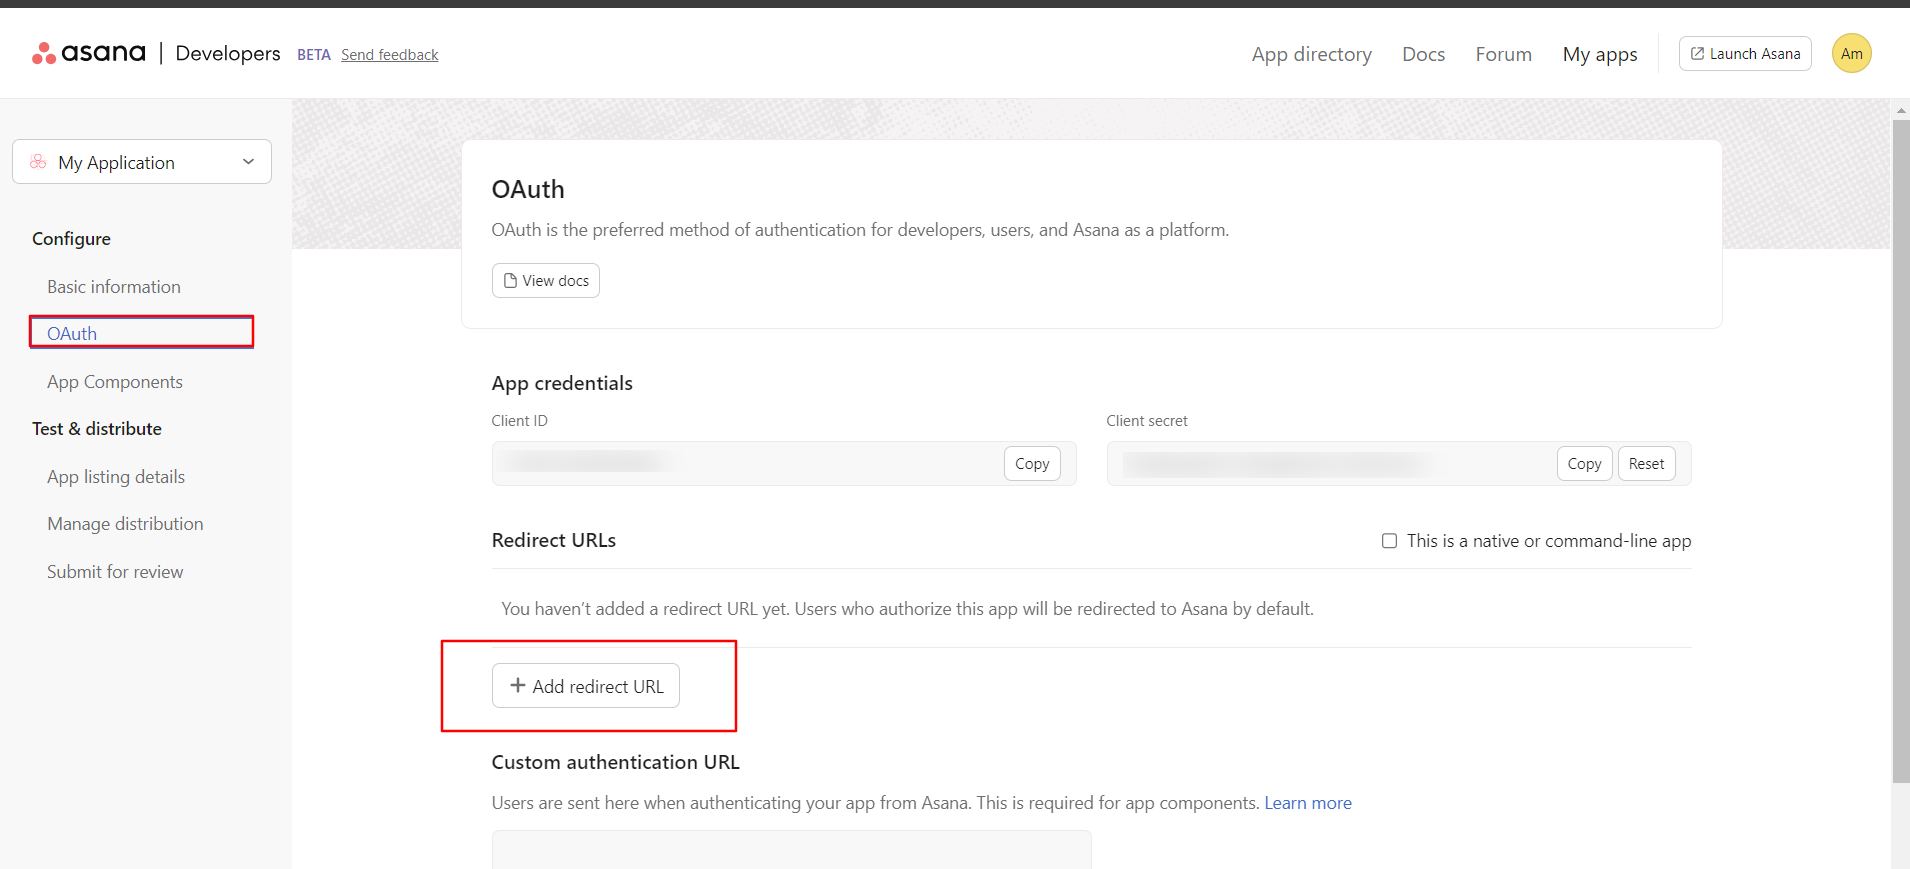
Step 8 :–Add the redirect URL by copying it from “MultiSync Made Easy” app available on AppExchange.
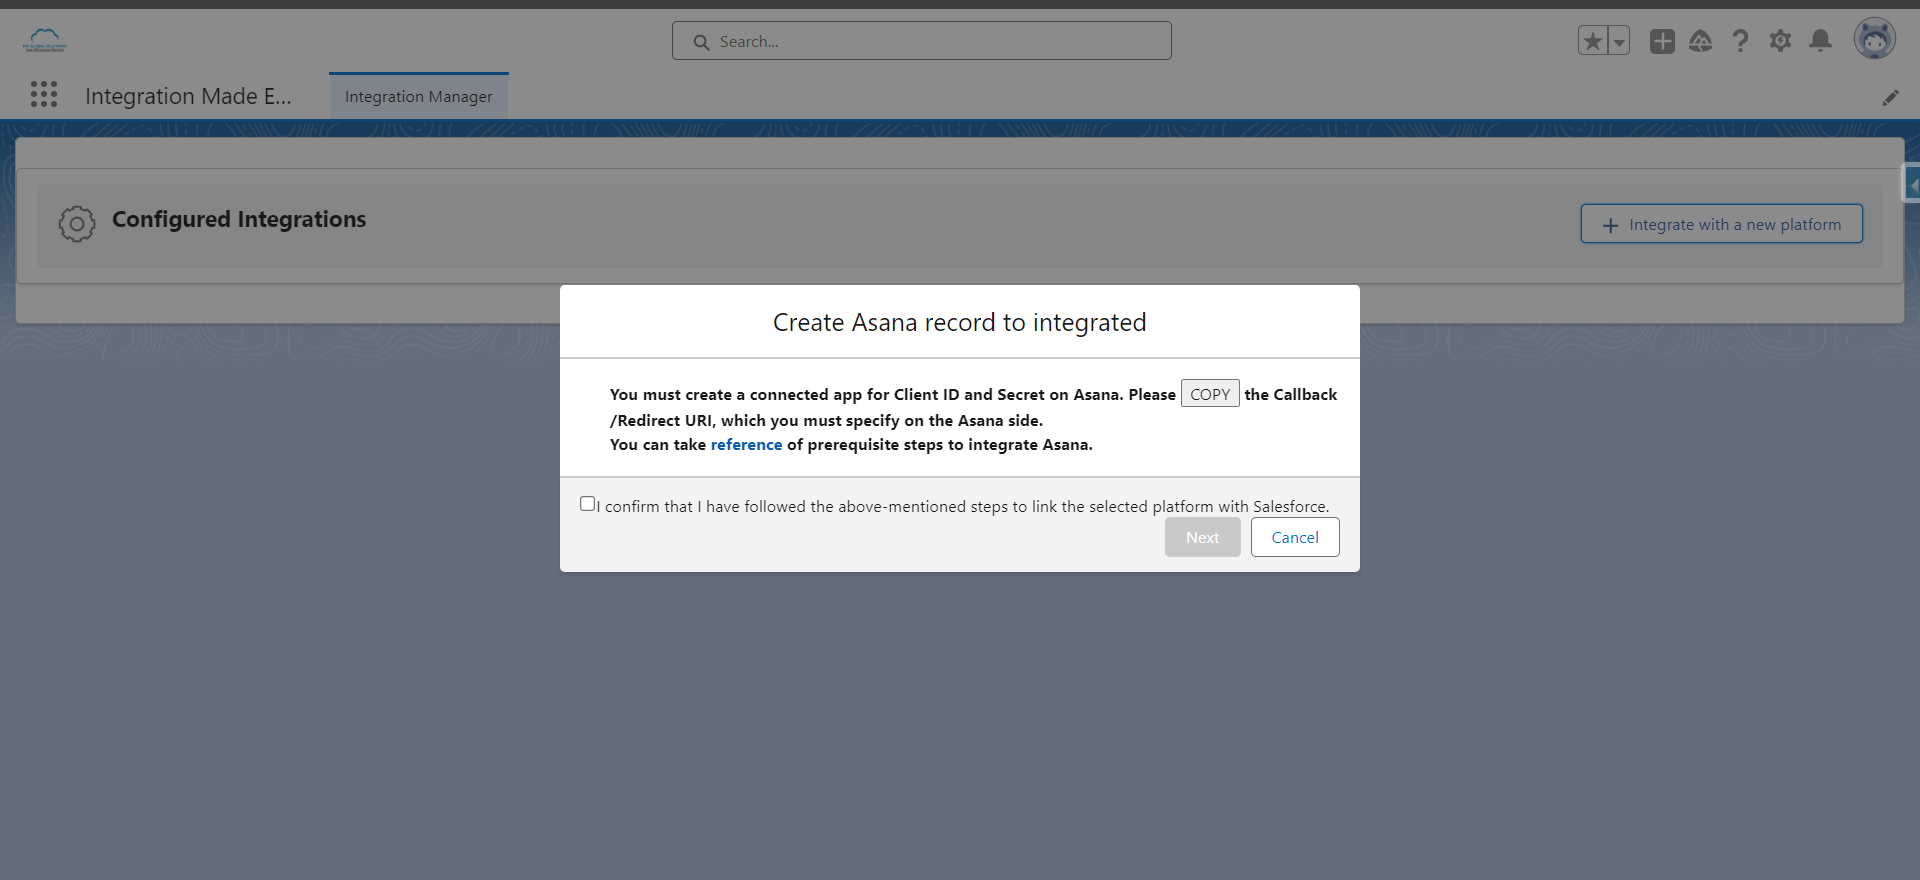
Step 9 :- Now, go back to the app and proceed further by enabling the checkbox and click on “Next.”
Conclusion
Hope this guide was helpful to you, and now, you can integrate Asana with Salesforce using our Native ETL tool – MultiSync Made Easy.
If you have any questions or need further assistance, please feel free to contact us.