Table of Contents
Installation
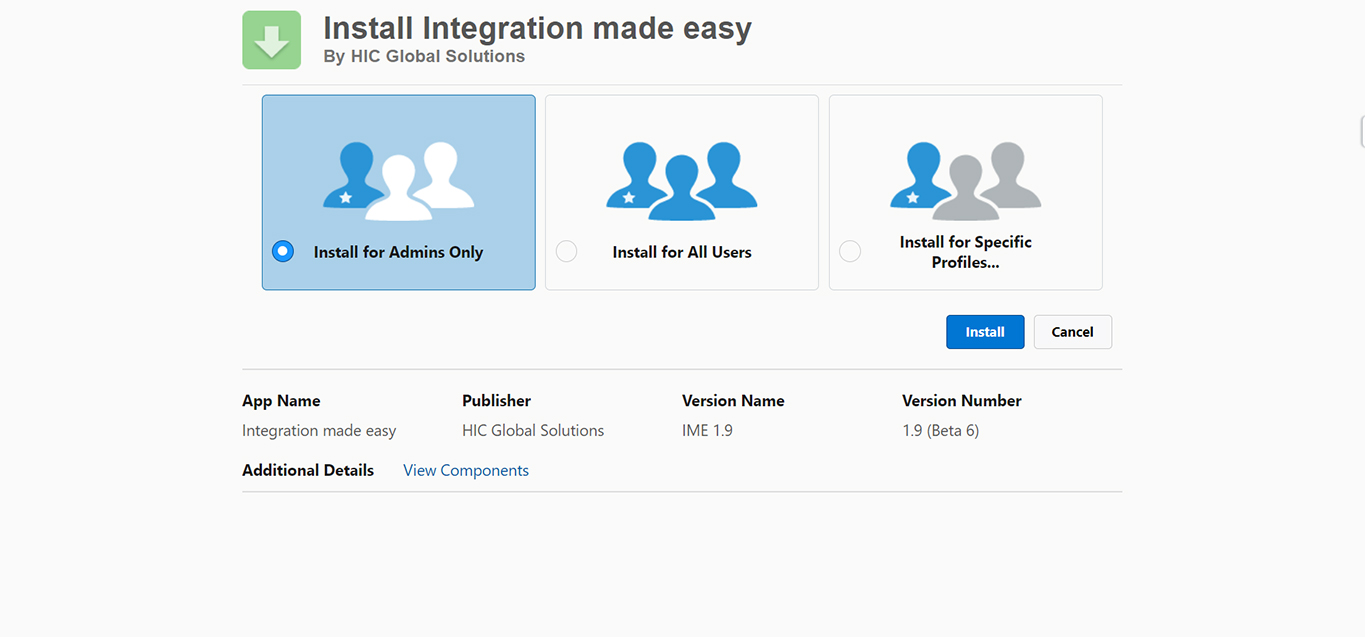
Step 1 : When you enter the installation screen, you will see three options that you can pick based on your business requirements, and then click on the “Install Button.”
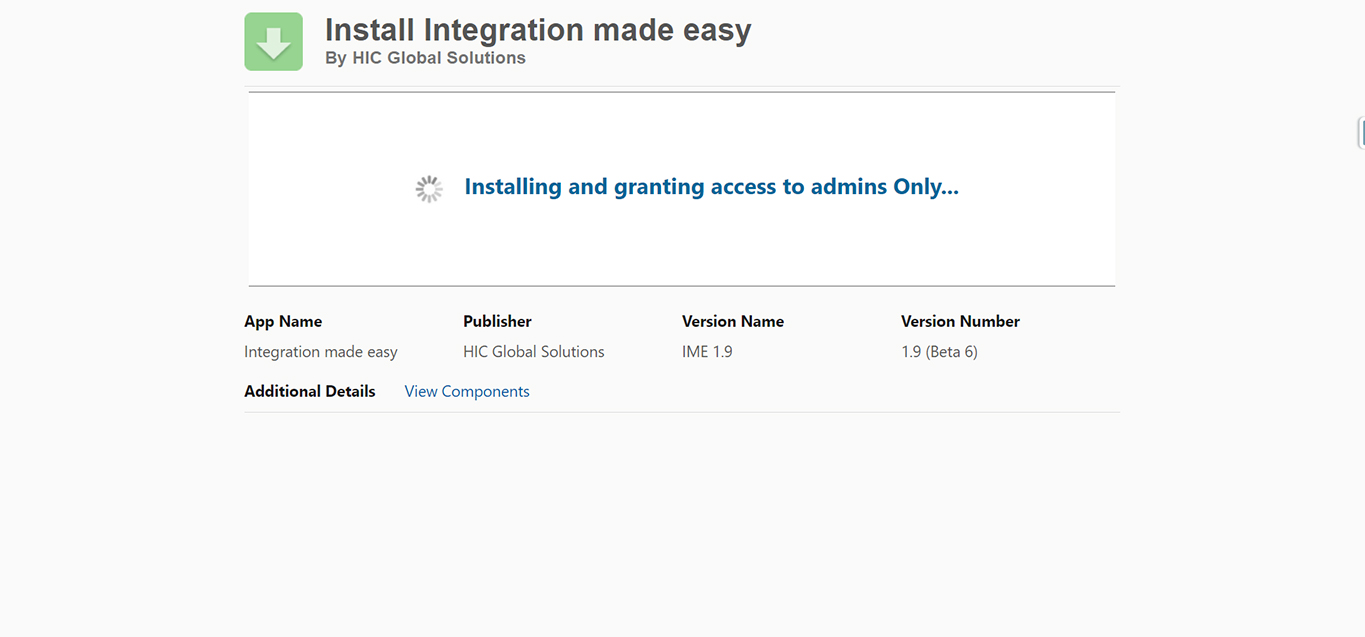
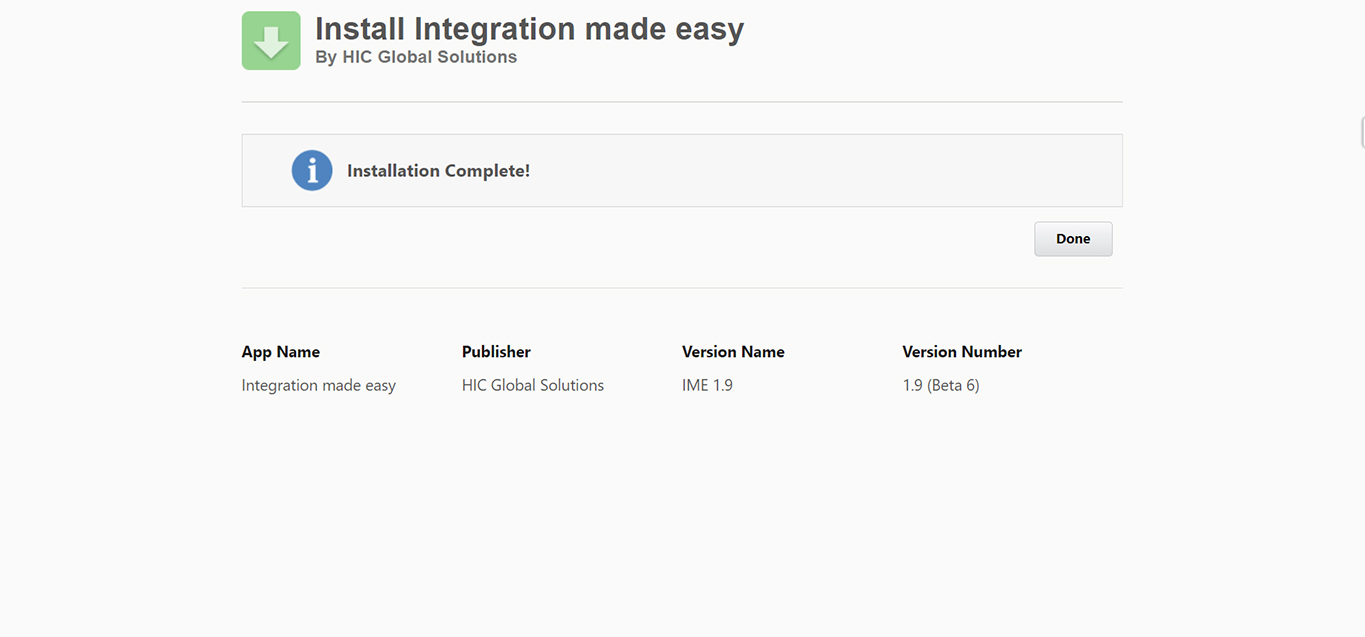
Step 2 : After a successful installation, you will see something like this in the screenshot below. Next, click on the “Done” button to make your package ready to use.
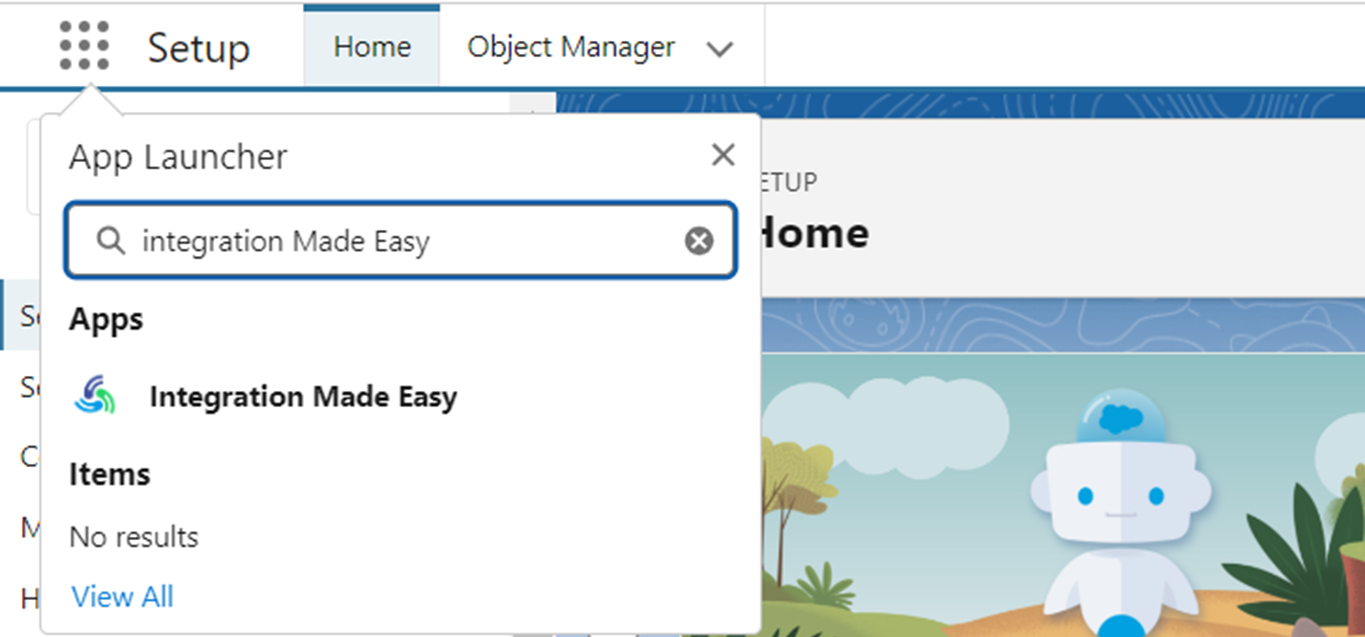
Step 3 : Now search “Integration Made Easy” in your app launcher.
Step 4 : Now you will be landed directly to the “Home Page” of your application.
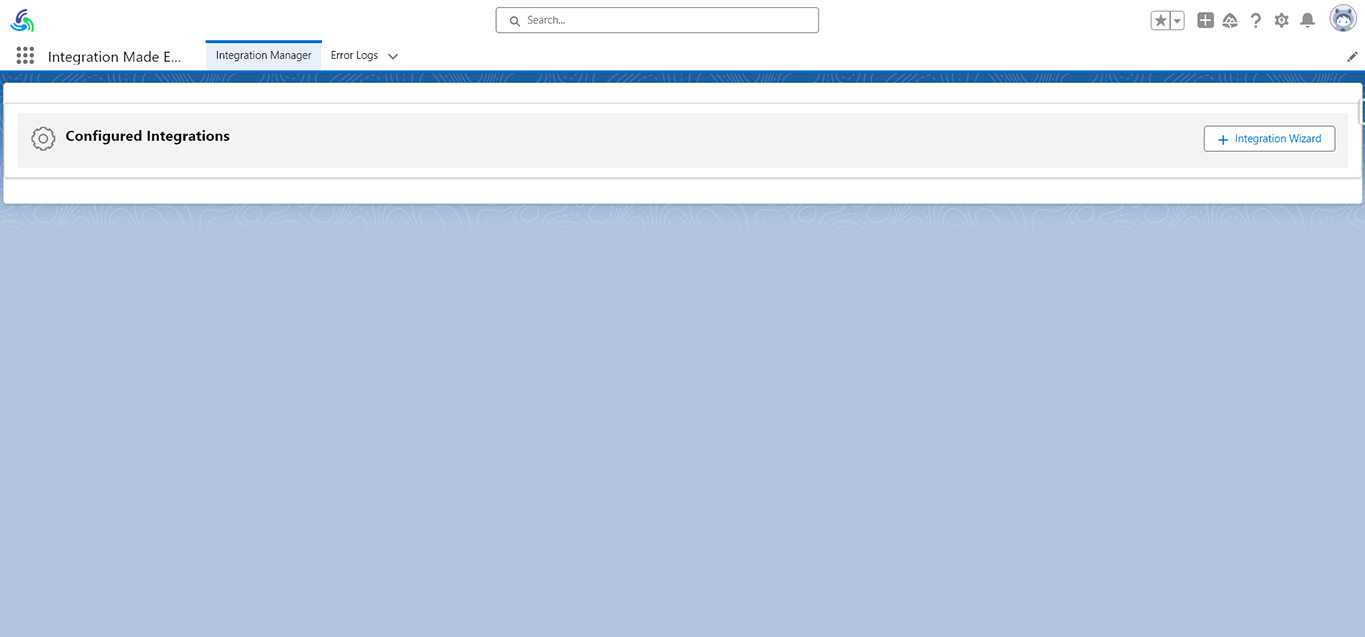
Step 5 : It’s time to select a platform that you want to integrate, so click on the “Integration Wizard Button” to search for your desired platform.
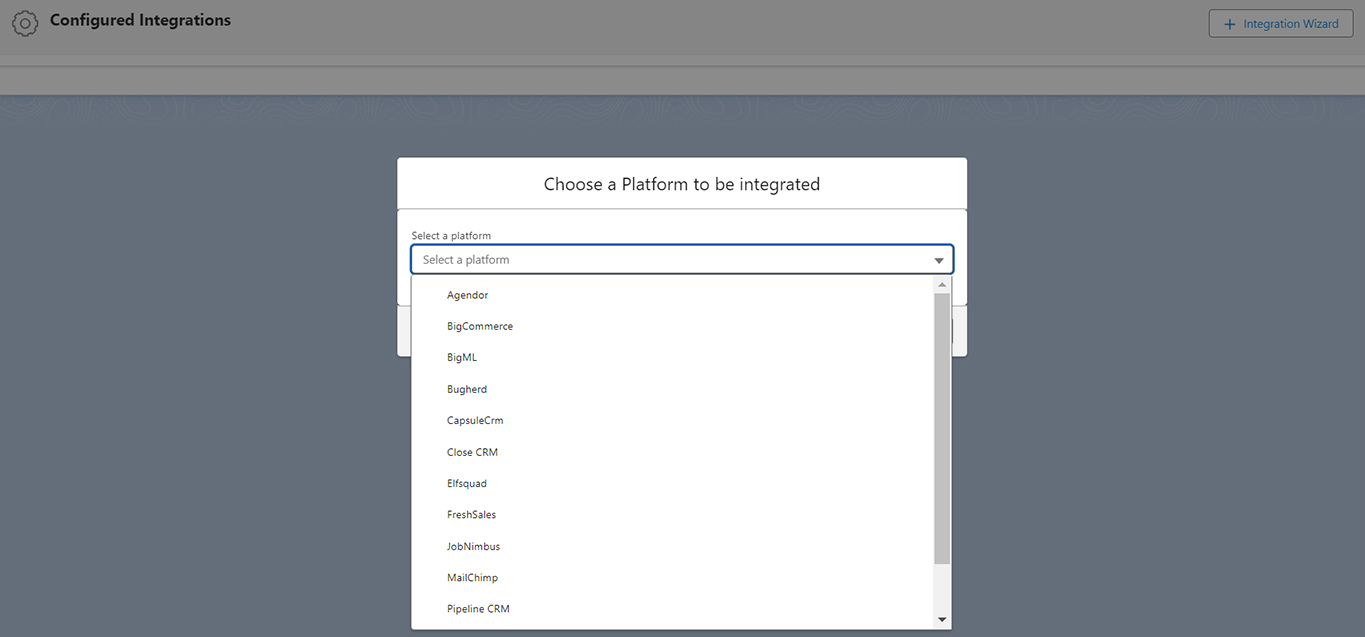
Please Note : There are mainly 5 types of authorization
- OAuth 2.0 Authorization Code
- OAuth 2.0 Client Credential
- OAuth 2.0 Password Credential
- API KEY
- Basic Authentication
We Cover all of them in the application.
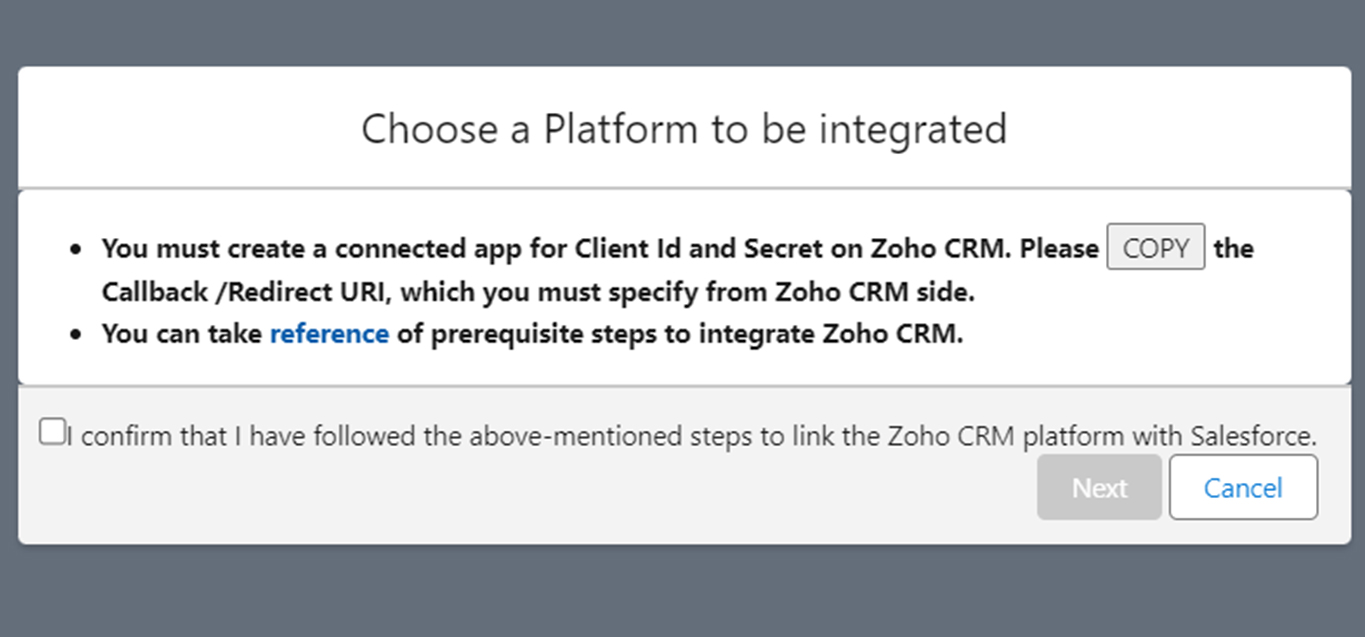
Step 6 : Now, you will get a popup on your screen as in the below screenshot.
Please Note:
- The “Copy” button shown in the screenshot above enables you to copy your callback URL if required in your authentication. The callback URL is mainly used in the OAuth 2.0 Authorization Code Method.
- You can click on “Reference” to learn about the significant steps involved in integrating the preferred platform with MultiSync Made Easy.
Moving ahead, you can click on the checkbox to enable the next button and move to the next step.
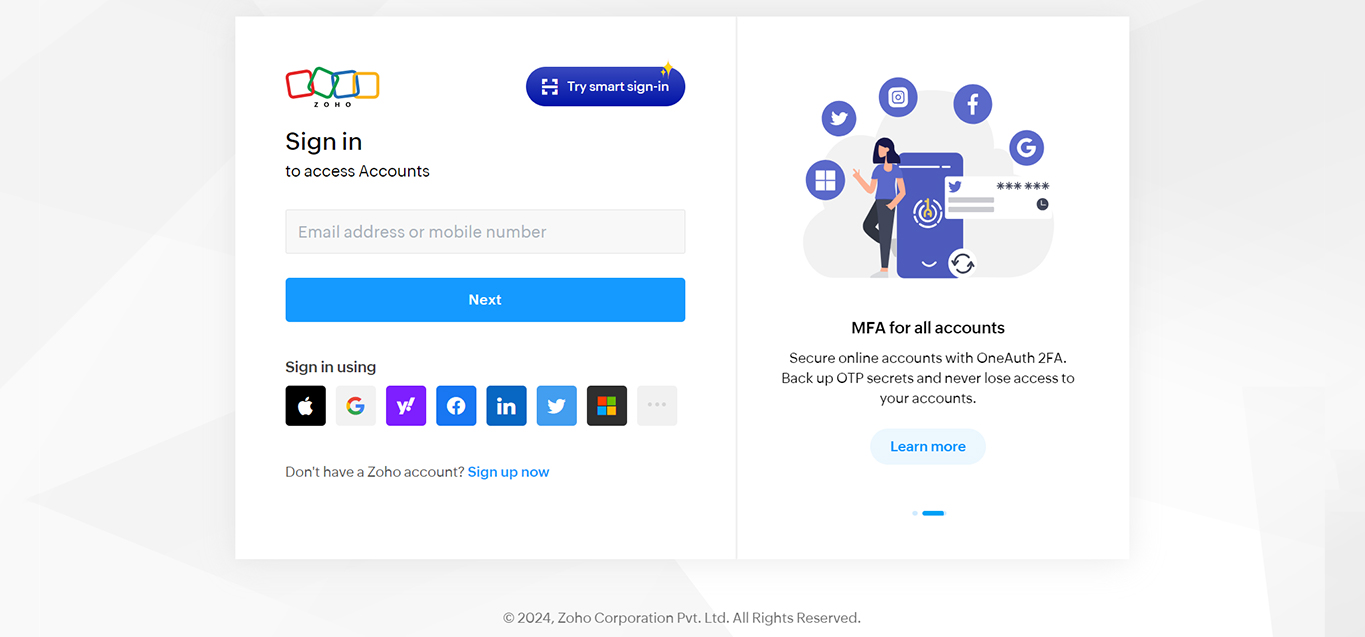
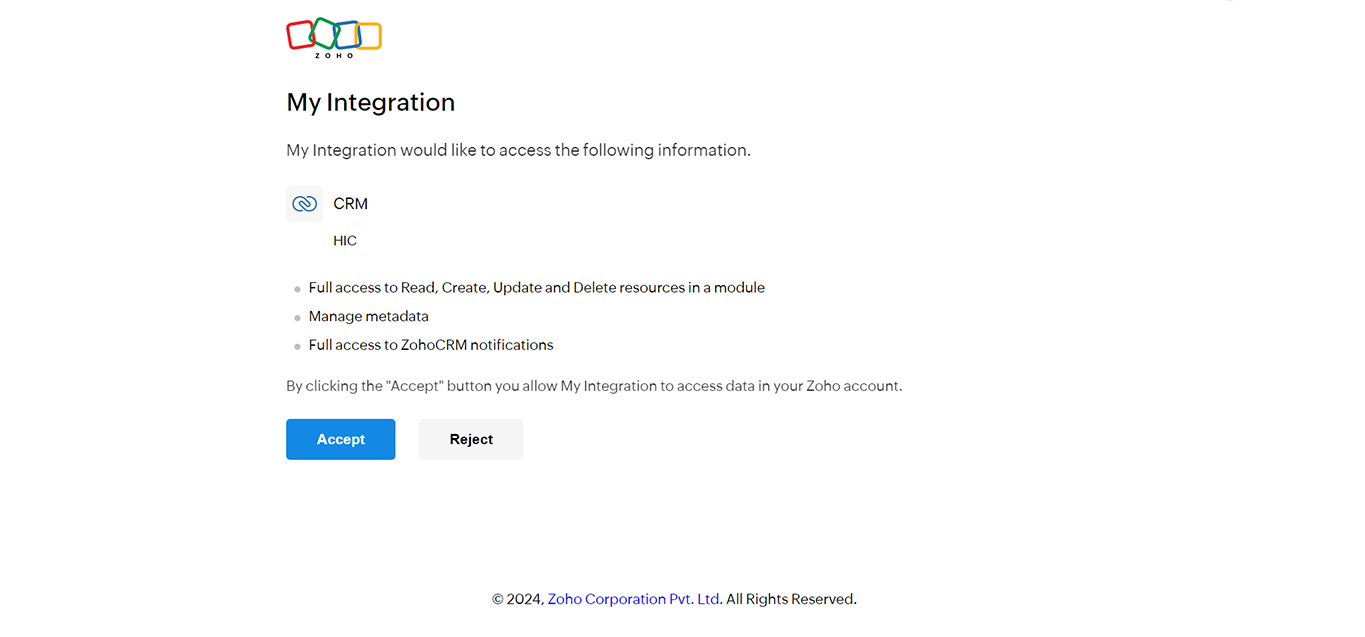
Step 7 : Fill in your Credentials for the Authentication platform and click on the “Save and Authenticate Button.”
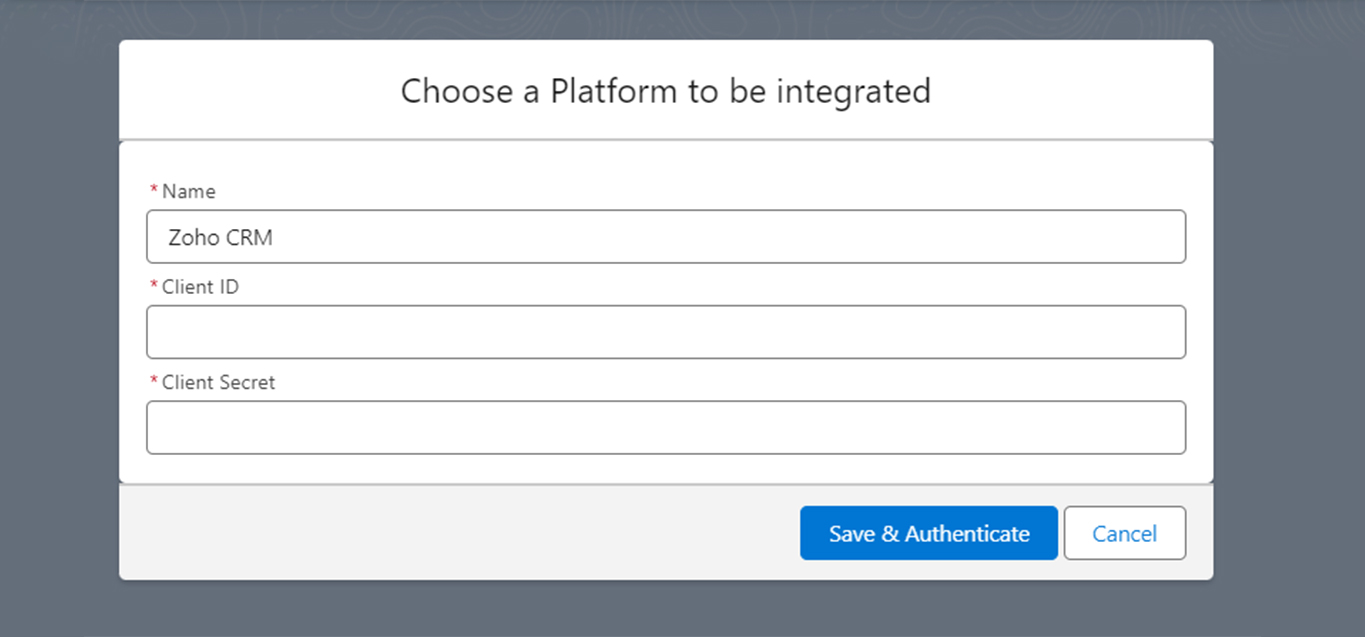
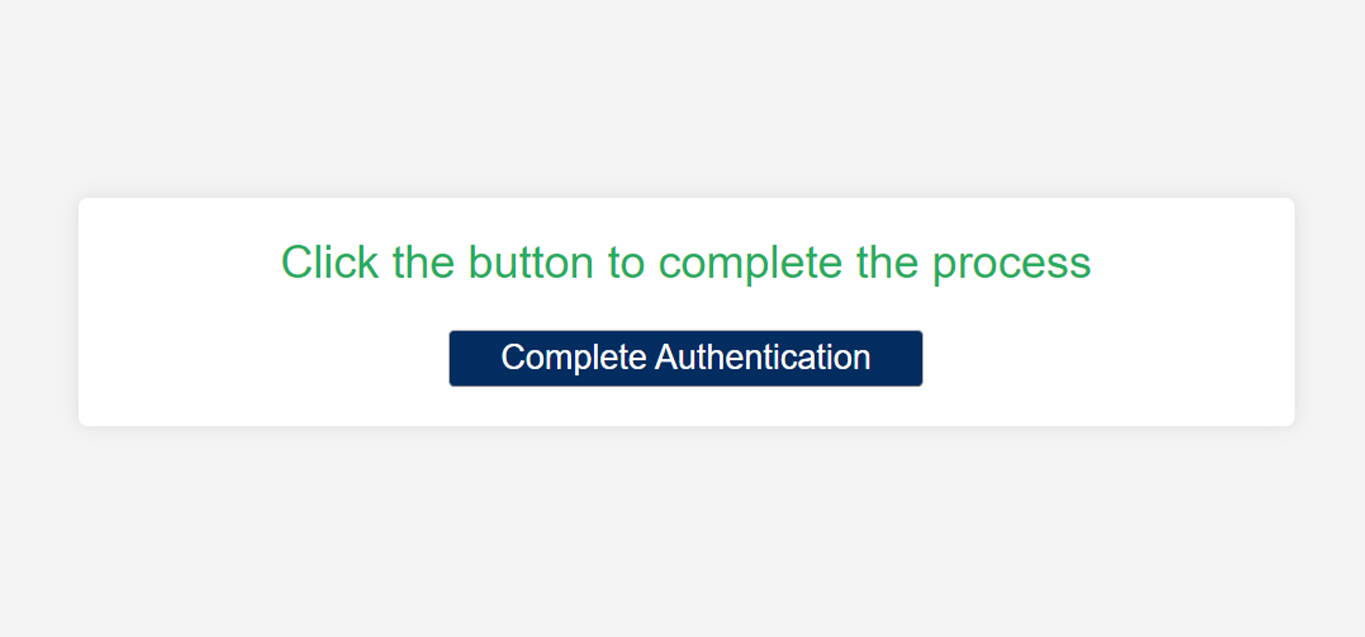
Step 8 : Fill in your credentials for authorization and click on the “Complete Authentication Button.” Later, you will be redirected to your home page.
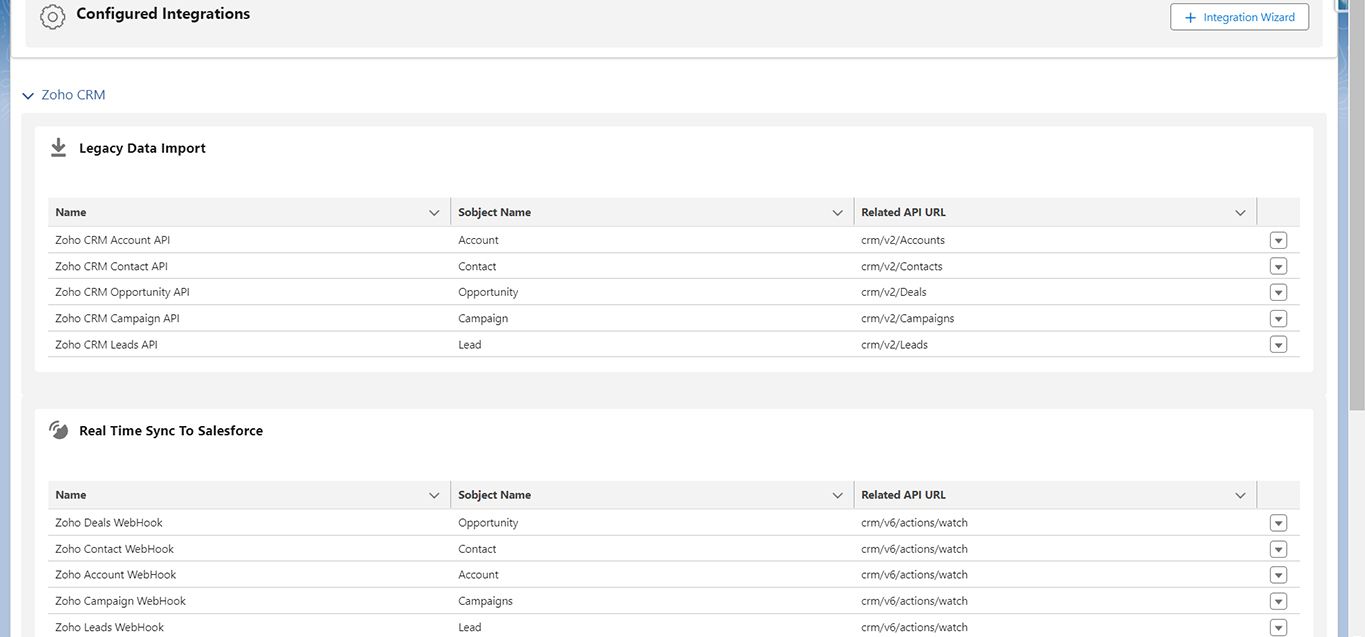
Please Note : Your homepage will look like the above screenshot. There, you will see three card sections, which are named as
- Legacy Data Import: In legacy data import, you can import historical data into Salesforce, and gain valuable insights into the past information.
- Real-Time Sync To Salesforce : With the help of this feature, you can synchronize your data to Salesforce in real-time across all platforms smoothly.
- Real-Time Sync From Salesforce: This feature enables you to sync your data in real-time from Salesforce to different platforms.
Legacy Data Import User Interface
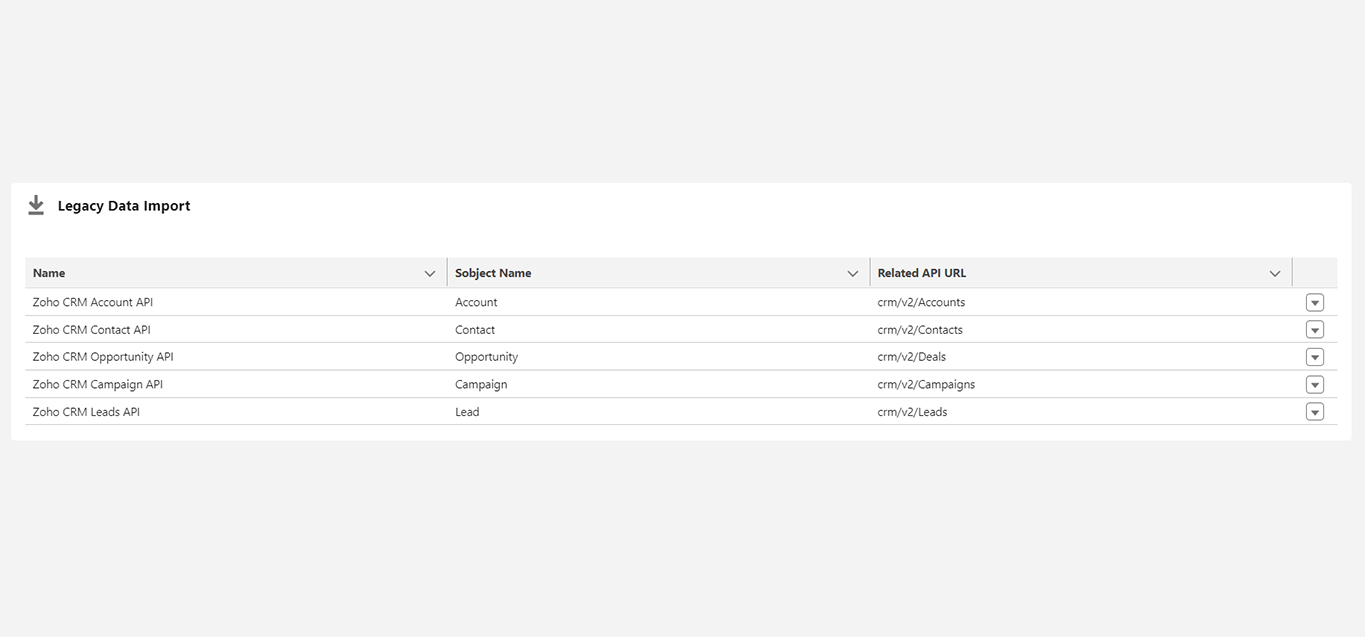
From the dropdown option on the right side, you will see different buttons as shown below.
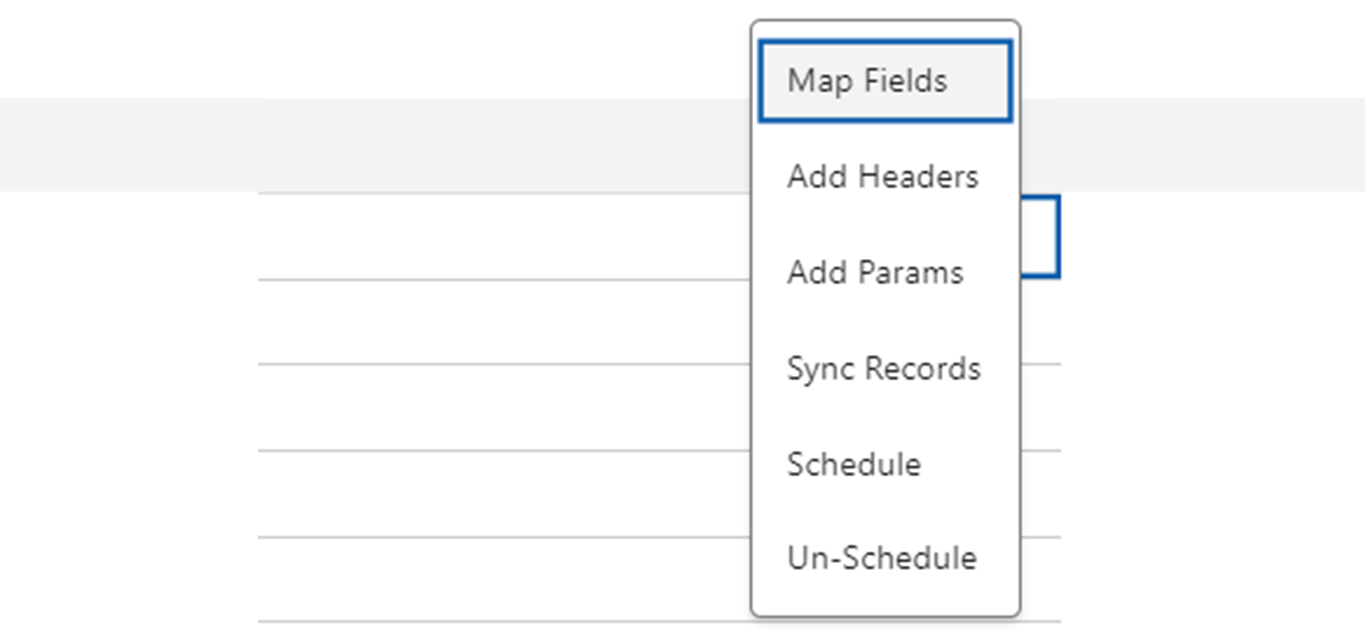
Sync Records:- From the import record in Salesforce just click on the “Sync Record Button” It will insert data from your external web service into Salesforce.
Schedule:- Here, you can schedule when you want to insert data in Salesforce and you can also schedule Periodic time(repeating in a specific time).
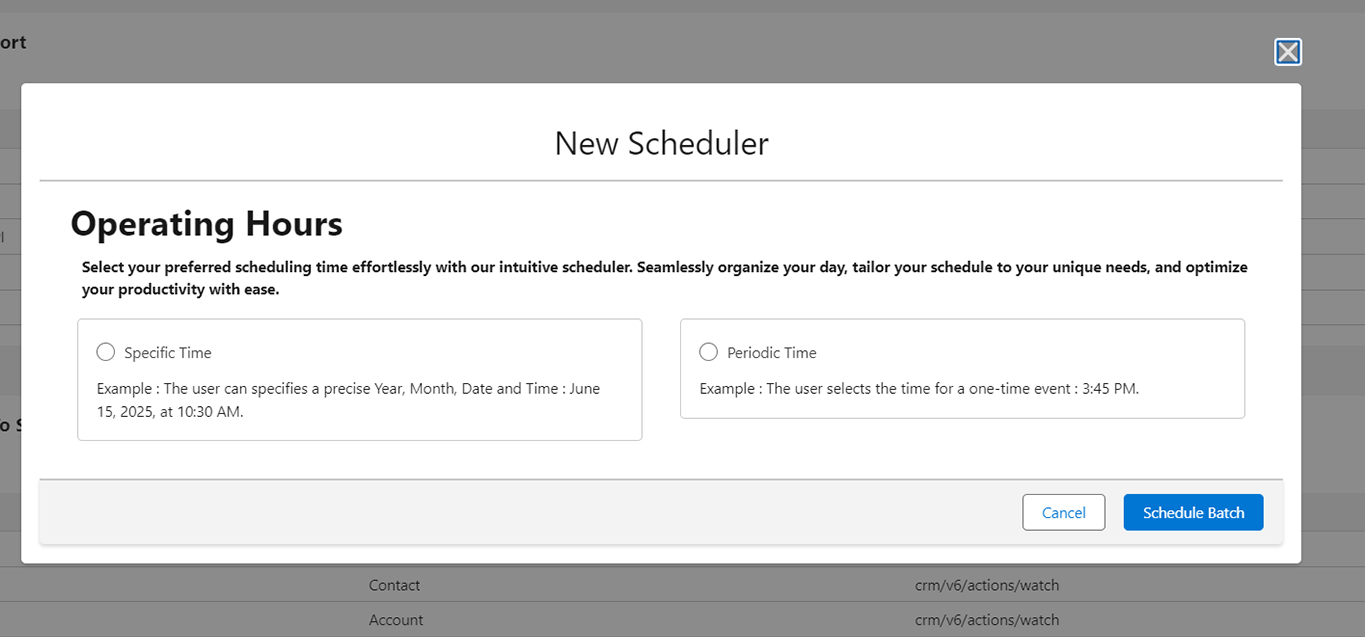
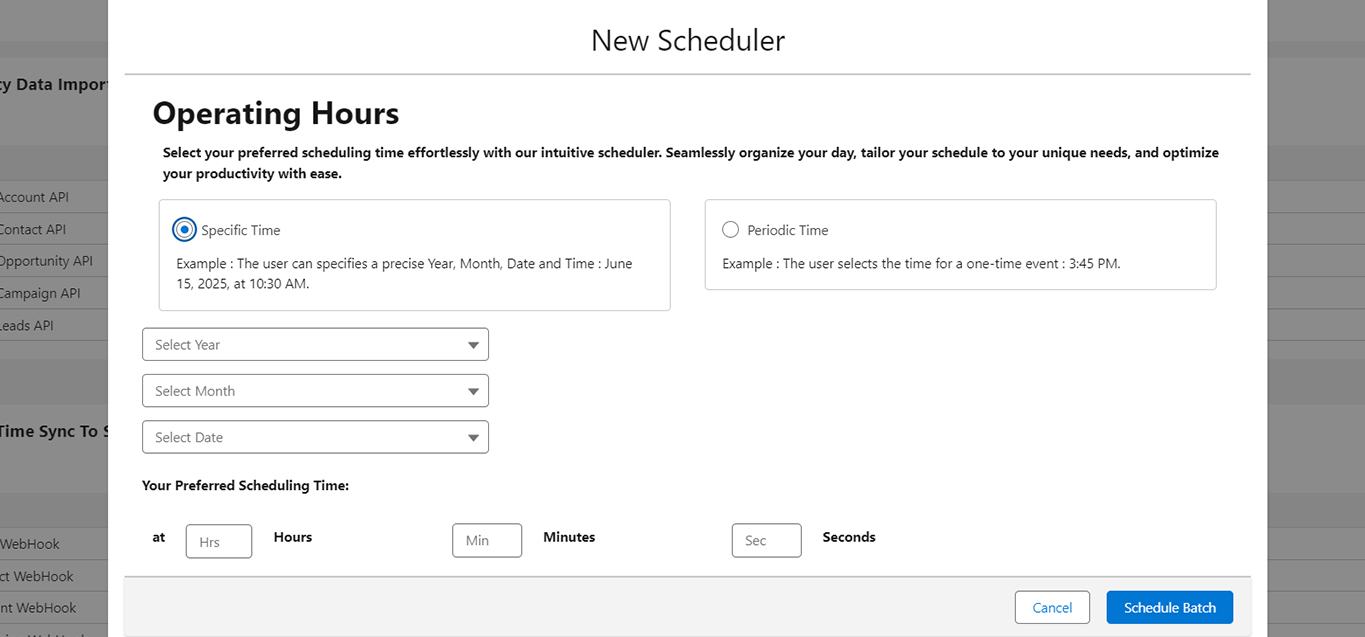
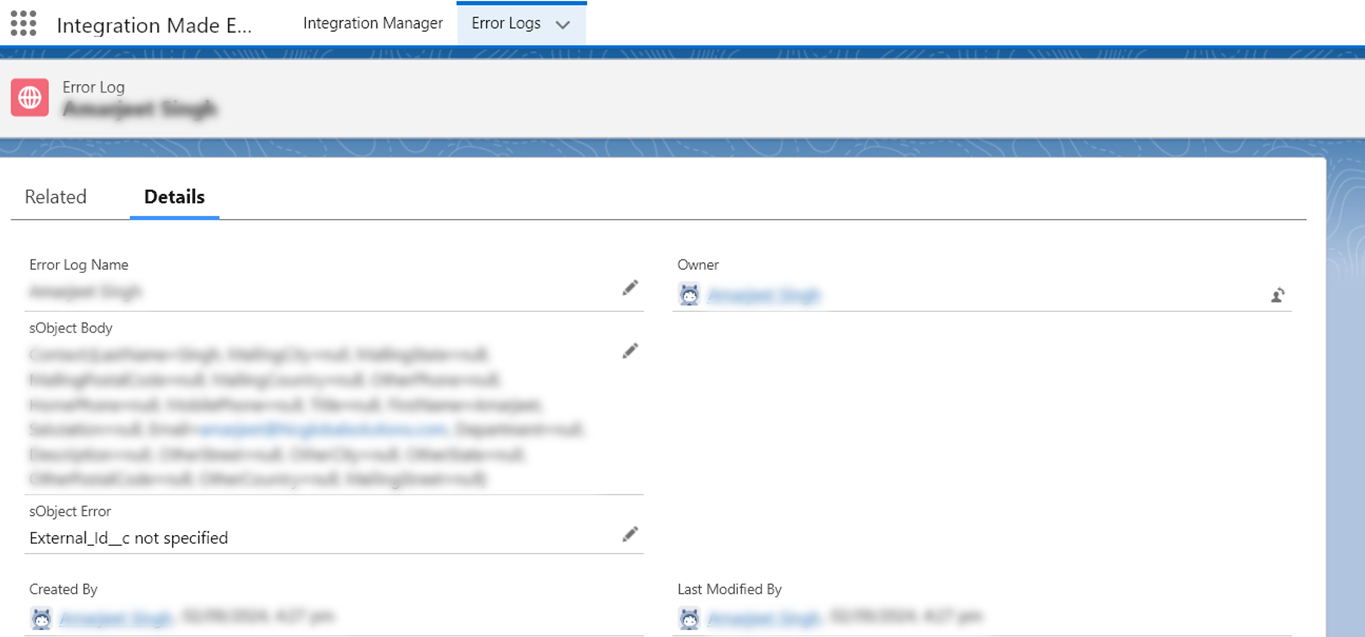
Note : If there is any error occurring while syncing the data into Salesforce, you can check it on the “Error Logs Tab.”
Real-Time Sync To Salesforce
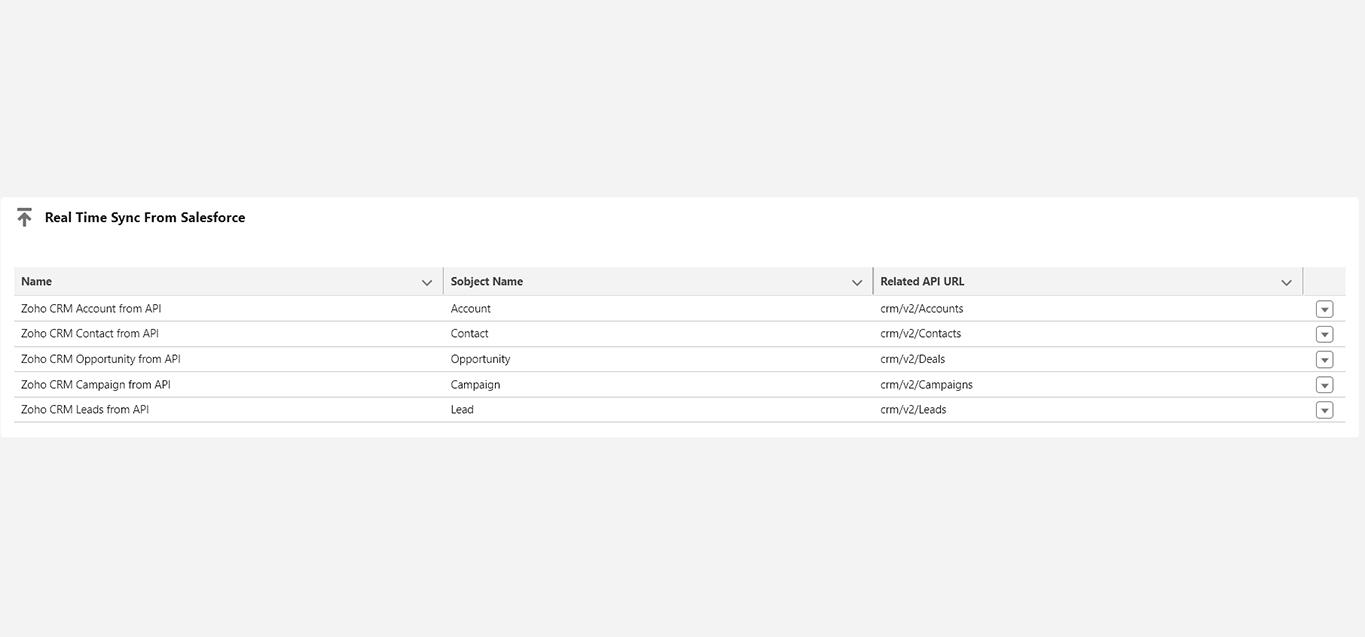
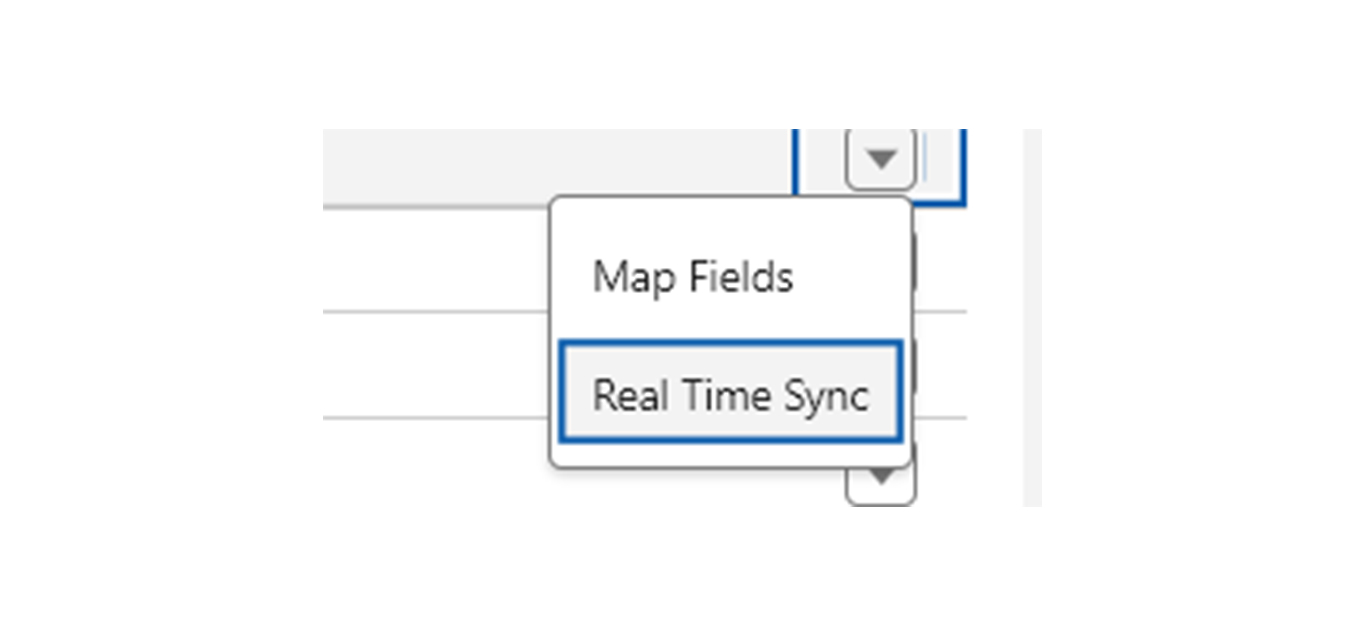
For real-time sync, you just need to click on the real-time sync button.
When you click on real-time sync if your popup is blocked then you have to enable it so the page will redirect to Flow.
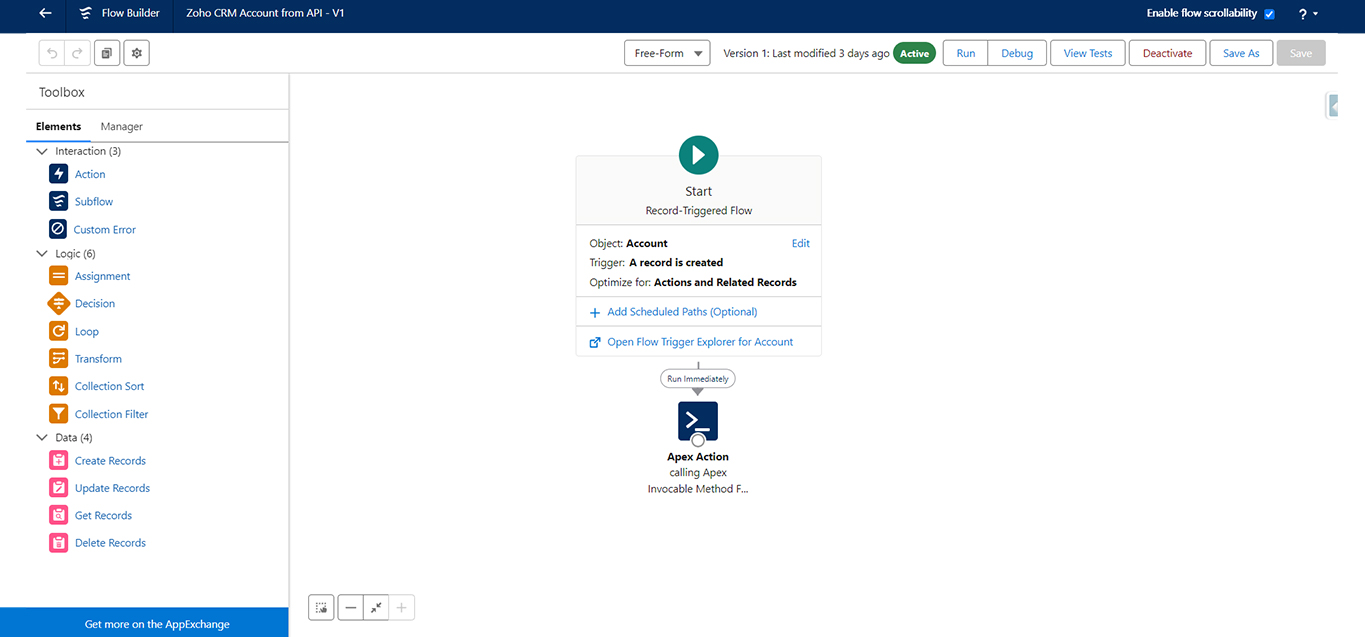
You just need to Activate the flow.

Now your Real-time syncing from salesforce is ready on your desired sObject.
Map Fields
You can also change the field mapping in all three features by just clicking on the map field button.
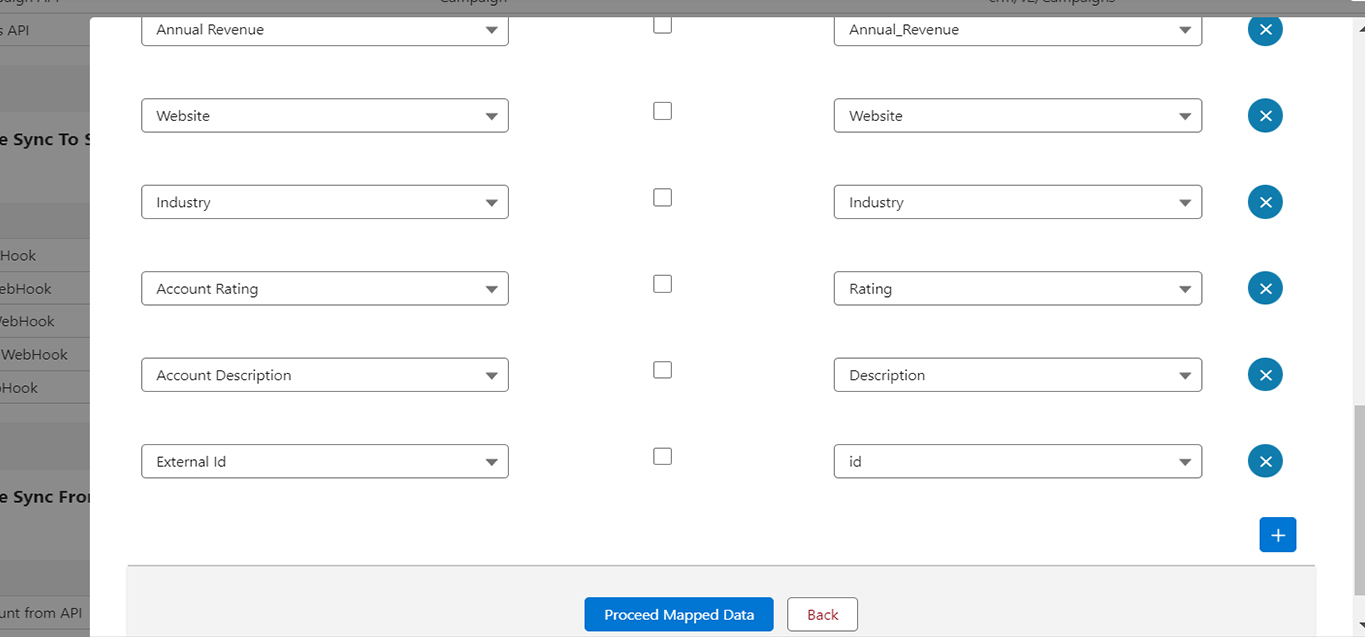
Note : External ID mapping is required in Legacy Data sync and Real-time sync to salesforce.
Contact Support
If you are stuck somewhere or facing an issue, you can contact our support team. They will help you and provide the desired solution.